

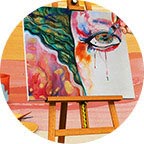


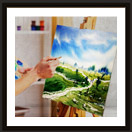


Still life paintings can be done in different mediums including oil, acrylic or watercolor — it all depends on how you want the final work to look and what effects you would like to create. This may sound simple but remember this age-old practice isn’t everybody’s cup of tea — it takes a certain set of special painting techniques to gather what exactly needs to be to make visual reality into art.
There are some artists who are in love with still life art and don’t hesitate to experiment with the means, styles, and media in which the mundane objects can be represented. Taking a cue from some of the most versatile artists of the present day, we have compiled eleven pro tips to help to paint an expressive still life acrylic painting:
-
Start bold
Always begin with laying an underpainting carefully as this first layer of paint will provide a colorful base over which you have to work later on. Using a decorator's brush, simply start painting the surface with some bold color, don’t worry at all about the drips or any texture, you don’t need any detail here but only lots of vibrant color.
-
Pick The Subject
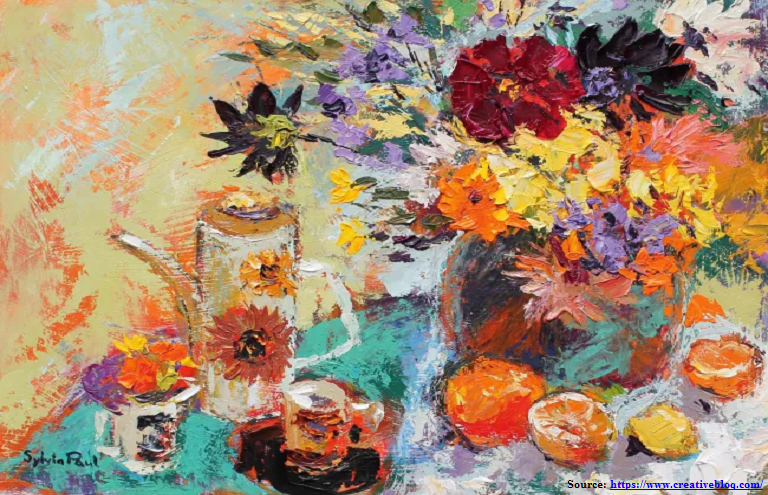
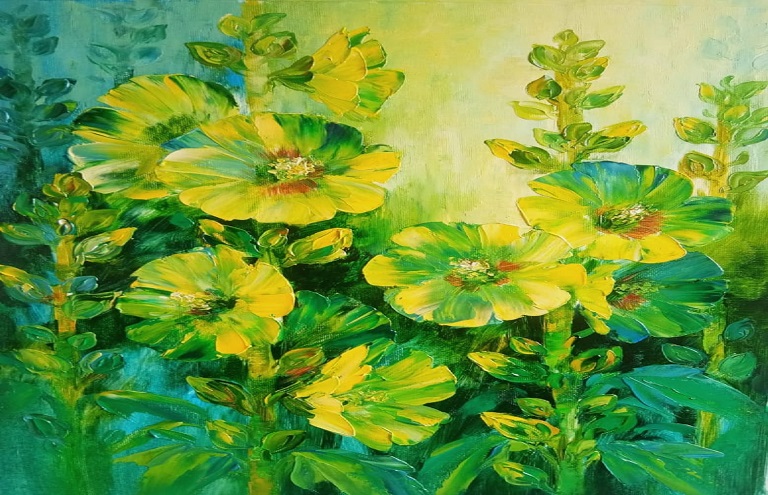
Choosing the right subject, especially something that you like, is an important part of the still life painting process. Your energy, passion, and interest in the subject will automatically be rendered to the finished work and prominently visible, so choose wisely. For example, if you love tulips or some food items, include them in your still life set up. Or maybe you really like the form of certain items such as coffee pot – place them in your composition.
-
Find Your Composition
In the early stages of painting, try using a viewfinder to accurately find the composition for your painting. Simply use a piece of cardboard and make a rectangular window cut in the middle. Later shut one eye and look through to see your composition. This will help you create convenient visual divisions and help you in drawing the objects with the brush accurately.
-
Look For Shapes
As you apply the vibrant acrylics in your painting, don’t forget to look for the shapes. In fact try looking more than the shapes, don’t restrict just to the shapes of the objects themselves, but also of the spaces between them — known as the negative shapes. Once you find the shapes, make a few simple marks in the painting to plot them exactly in the composition. Keep all this very free and try working over the whole board.
-
Learn To Cover up
You will find that the white of the board surface is nearly all covered now and the colors applied are rich and shiny. As you add the darker tones, the still life objects will become more obvious and visible. At this point, try building the whole board up at the same time by working gradually over the entire surface, without concentrating on any details, focus on just the basic shapes, for example, our favorite tulips flowers in your set up can be seen as simplified blocks of color.
-
Keep It Sketchy
The details of the composition can be easily carved out of thick acrylic paint. While the thickly applied paint is still wet, draw into it with the end of an old paintbrush. As you pick some sketchy detail in each object of your composition, you will find that a textural surface is created in the painting. However, it is still the underpainting, be patient and you will find the gorgeous color and texture coming together eventually.
-
Put On More Colour
It’s time to grab your broad brush again. Use it to add more color to some elements of the painting such as in space among the tulip flowers. It’s a rough painting, don’t hesitate to add more blues, greens and more colors, simply block the bold colors with the brush. In case you have some whites in your still life set up, such as table-top, make it in blue and green too, the final whites will be added later.
-
Coffee break
At this stage, the rough painting of your still life art is almost finished. You can now work in giving a little more definition to its elements such as flowers, the coffee pot and probably add some more foliage. With the basic elements of the composition in place and the colorful textural surface worked upon, it’s time for a break, go grab your cuppa before you switch to a palette knife.
-
Put Your Palette Knife To Use
So with fresh energy, get hold of your palette knife and use it carefully to apply the acrylics. Give the background drape the exact shades that you have planned for, you can try giving it a shade of soft green, with a little of the orange paint showing through. Also, the final whites should be in place. As the thick paint on the palette knife picks up the texture of the underpainting, it is advisable to use it lightly. It will help you leave some of the vibrant colors to show through your artwork and keep the overall composition loose.
-
Add More Detail
With the palette knife, you can continue to work freely without getting overwhelmed with too much detail. Taking note of the negative shapes, paint around the objects so that the objects such as your coffee pot stand out. At this juncture, you can also add a little detail to the objects but make sure to keep it simple.
-
Keep It Clean
Paint the main elements of your set up such as tulip flowers with the palette knife, making sure that you keep it clean, for example, use the shape of the knife to clearly describe the shape of the tulip petals. If you are confident, you can also paint at speed, but be mindful of keeping the colors fresh and the marks absolutely clean. You can also play around with contrasting tones of acrylics to help the colors to pop, for example, you can add dark tones in the vase to help the light and vibrant tulips stand out.
-
Know When To Stop
Many artists, especially beginners, are confused if their painting is finished and hence find it quite difficult to know when to stop. At this point, remind yourself of what you wanted to achieve, maybe you were trying to capture a mood with expressive marks, vibrant color and texture, and not aiming for intricate details or precision, step back and rethink if you can feel this in your art. There always comes a point in painting when working on it further ruins the vitality and muddy the color. Be mindful of not over-working the still life painting.
Bonus Tips
- Take time to get your still life art set up just right. Include items you relate to, if flowers from the garden are a must, place it in the arrangement. Also, add items that can really set the color and tone of your composition.
- Don’t look for details, instead, aim for a very relaxed painting with lots of life and energy.
- Always, create an underpainting using vibrant and sometimes contrasting colors.
- Build your painting in layers. Work at speed firstly with a large brush and then use a palette knife to capture the mood with expressive marks, vibrant color, and texture.
