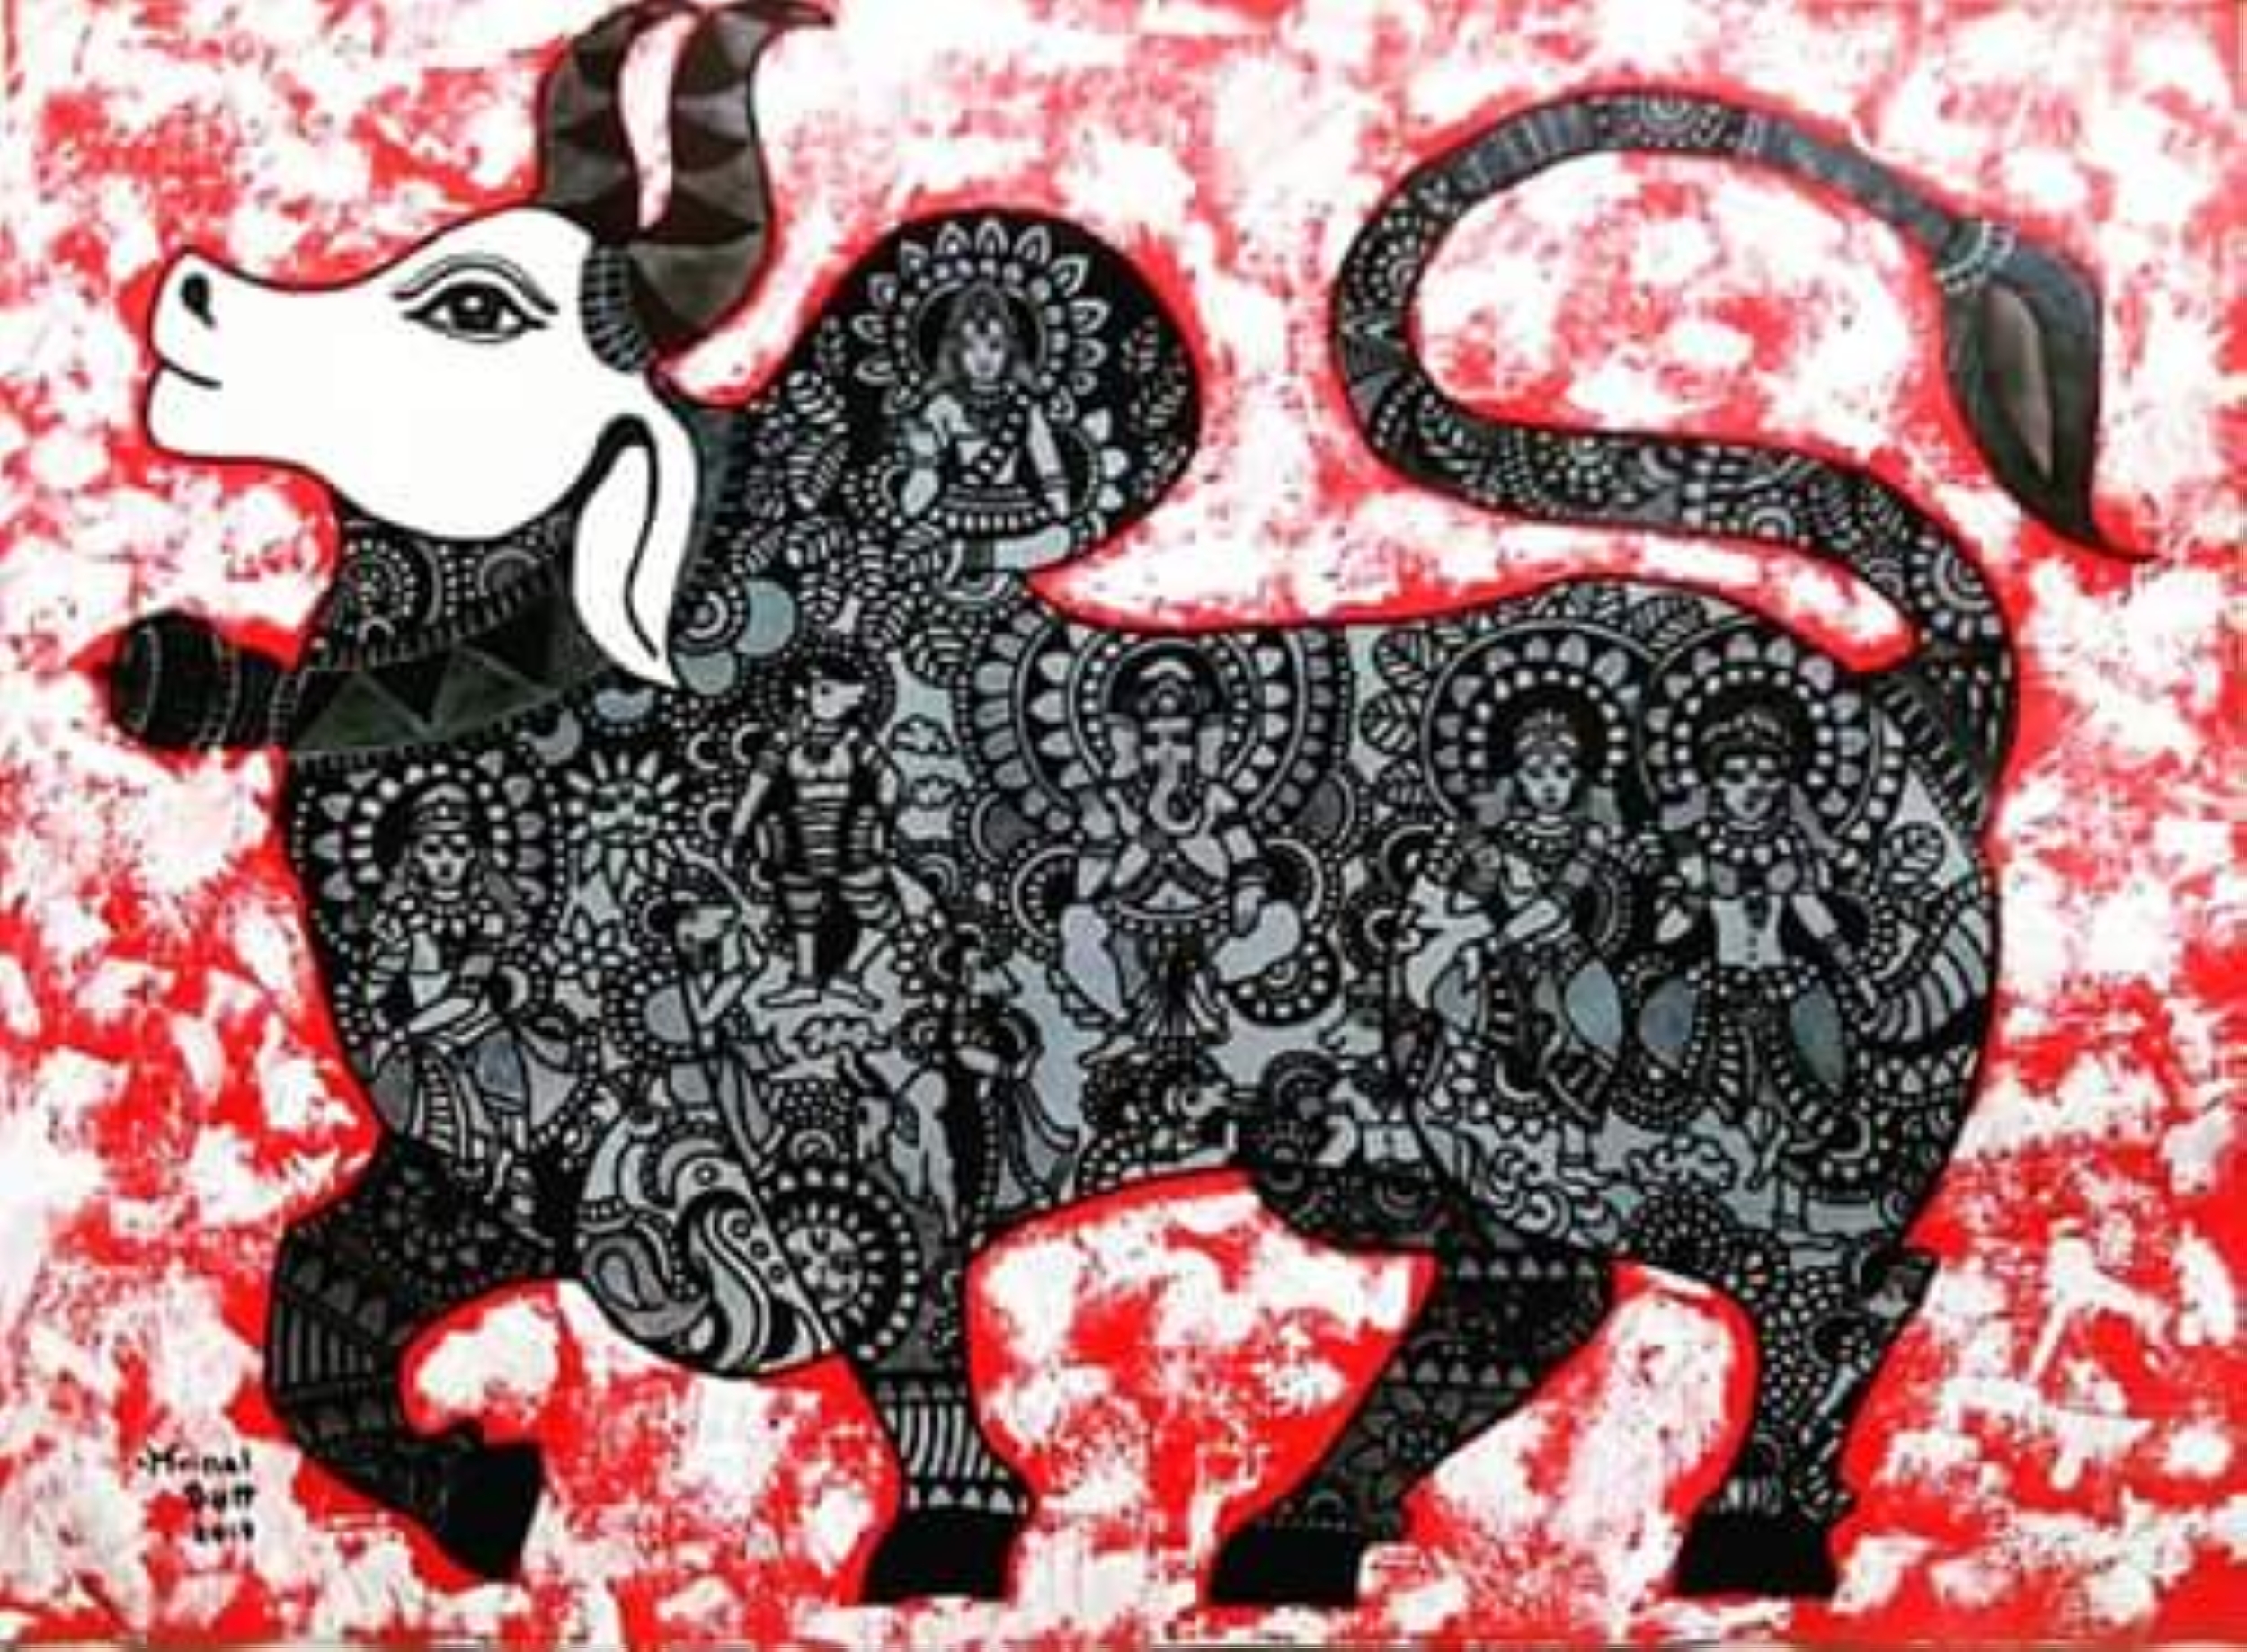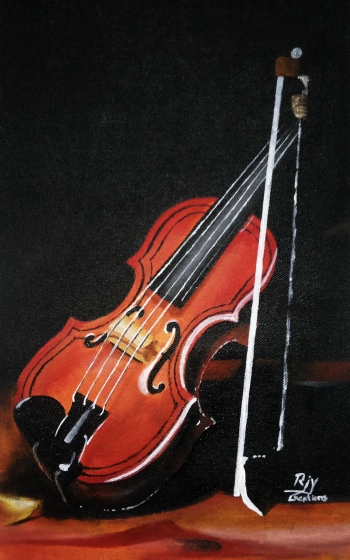
Once you are done with your acrylic piece-of-genius, it is essential that you varnish the same. This is a key method to protect your famous Indian paintings from getting harmed by UV rays, moisture and dust. Moreover, this process enhances the glow of any given acrylic painting for it adds an element of sheen.
Interestingly, this exercise pulls the entire painting together and all of a sudden your artwork turns into an eye-catching masterpiece! So bring out the dazzling vitality of the bold hues in each one of your latest Indian artworks by varnishing them one by one.
Some common types of a varnish finish available in the market and popularly used by painters are:
* Gloss
* Satin
* Matte
As an art connoisseur, I personally love using gloss varnish. It adds a lustre that augments the exquisiteness of my paintings. In case you have a specific effect on the mind, try experimenting with different combinations of varnishes. But remember that varnishing an acrylic painting involves some amount of experimentation and lots of patience. Only then you will end up with a perfect patina.
Photographing or scanning a painting is best done without the varnish on. An unvarnished painting does not have a glare. Contrastingly, capturing a varnished painting in a photograph is tough and requires a lot of patience because you need to avoid that obnoxious shine in the middle.
Let's have a closer look at key pointers that you can keep in mind while varnishing your acrylic Indian art painting:
1 - First and the foremost thing, that you need to do is to choose a dust-free area before starting with the varnishing of the painting. And, ensure that you keep the windows and door closed to avoid dust particles to enter the place where you will be applying varnish on the painting.
2 - Ensure that you use a plane, wide, soft and firmly packed varnishing brush. And, most importantly keep it clean and use it for varnishing only.
3 - Keep the artwork to be varnished on a flat surface, such as tabletop and do avoid working on any uneven surface.
4 - Stir the varnish properly and pour it into a clean blow and immerse your brush in it. Wipe it on the side of the bowl so it is not dripping.
5 - Apply near about 1-3 thin coats of the varnish rather than apply one thick coat on your acrylic painting.
6 - You can even use long strokes from the upper to lower part while moving from one side to the other, and eliminate any bubbles.
7 - In case, you by mistake forget to smear the varnish in any area, then avoid smearing the areas you have already done.
8 - Once you are done with varnishing thing just shield the artwork with a plastic film so that dust should not get a stick on the wet surface.
9- Leave the artwork to dry for 24 hours and in case you still feel that another coat of varnish is required then apply it at right angles to the first.
Hence, keep your famous Indian paintings preserved and elevate the appeal of your room.


