


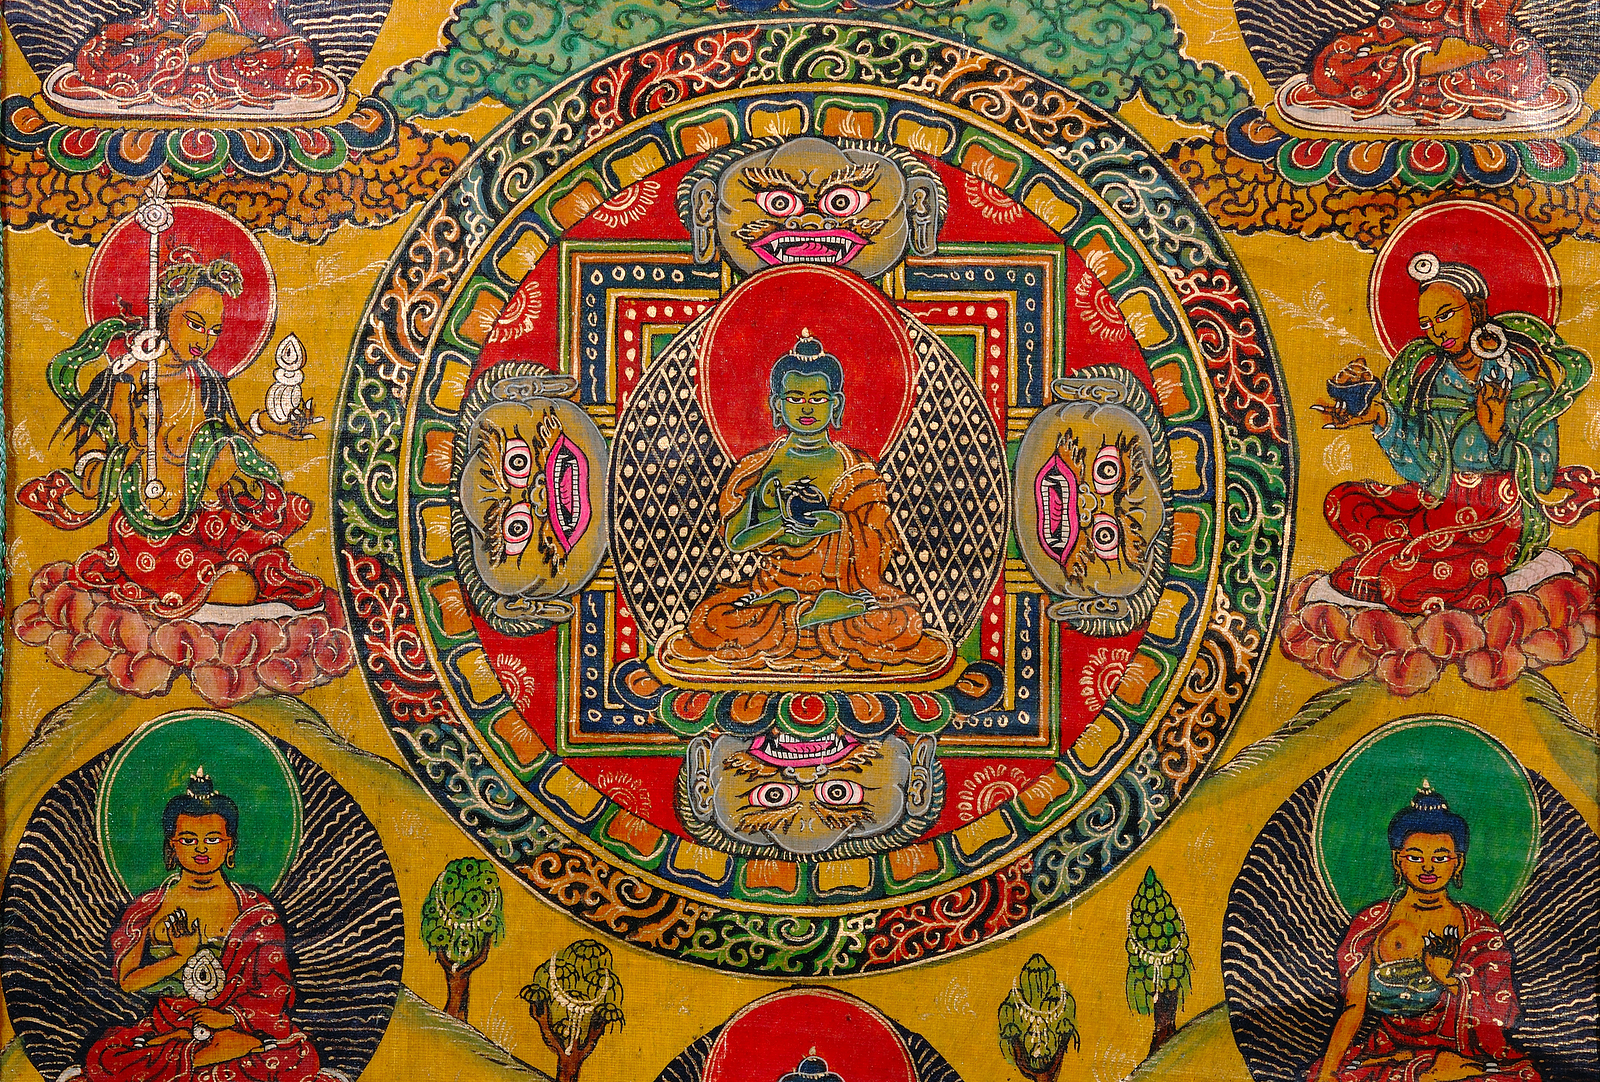
Thangkas are mostly painted on canvas, leather or paper and also embroidered, woven and patchwork. Technically a thangka painting has four stages that are preparation of the foundation, sketching, painting and the last one is framing. These steps are discussed below:
Preparation of foundation
The canvas on which the thangka is done is made of a woven material like cotton, linen and at times silk. The best canvas for thangka painting is of woven structure made up of single piece of fabric as when thangka is rolled up the paint easily chips off of thicker to rougher fabric. The thangkas canvases are rectangular in shape, much taller than wide measuring from 30 inches tall by 20 inches wide. Generally there is a ratio of 3:2. It can be small as well as big depending upon the requirement. There are also thangkas of ration 2:3 which are known as elongated and are much wider than tall. To prevent the edges of thangka from separating, the canvas is folded rather than hemmed and fastened with thread that are firmly attached with twine to a wooden frame and strung tightly to give a look like an upright trampoline. The cloth is cleansed with a sizing of anima, glue consist of boiled bones and skin, from front and back and is polished with smooth stone or shell. Even layer on rough cloth is produced that will be good for sketching and painting and will prevent the paint from seeping into the cloth.
Sketching
For alignment, a net of coordinates in the form of eight lines is laid. With horizontal and vertical axis two diagonal lines are drawn through their intersection and four lines are drawn parallel through their frame. At times it is done on the back of the canvas so that the artist can see the lines through it when it is held up to the light. The next step is charcoal sketch. After painter is satisfied the lines are highlighted with the ink. The drawings of templates of the figures that are to be painted on the canvas are available in the markets which are transferred to the canvas by piercing holes through them on the important lines. To create an outline on the canvas the powder is blown through these holes. You can also use block prints for printing.
Painting
After sketching, coloring is the next stage. Large area is colored with brush or writing numbers or syllables into the area required. For example, black color is indicated with number two or syllable NA, yellow with number five or syllables SA. A sequence is followed at the time of applying color. The furthest area is colored first like sky and then the closer area like landscape followed by trees or rocks and figures are done later. Before dark light colors are applied and later the details in gold are added.
Framing
After the painting work is over the canvas is removed from the stretcher and framed with textile edging. The brocade or silk is of the width so that the deepness of the lowest trim is half of the length of the painting, sides' one eighth and top one fourth of the length. The frame is not completely rectangular and splays out a little towards the bottom and the ends are covered with metal caps. At the top a cord is there which is used to hang the painting.
