

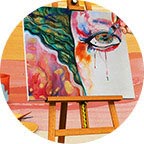


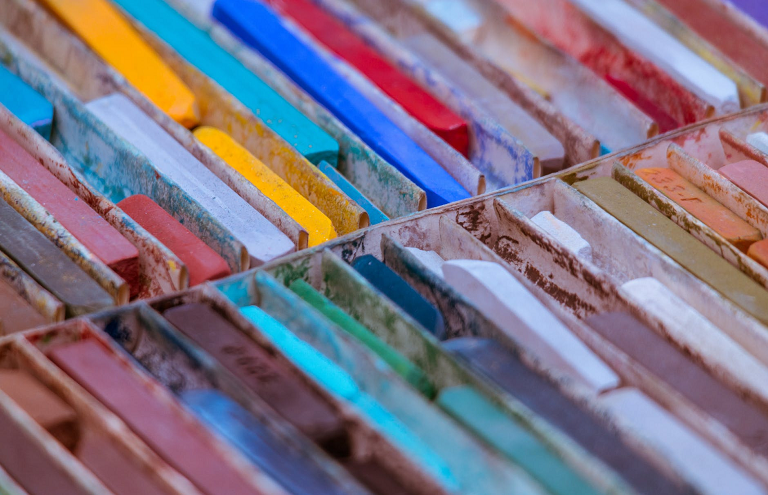
Oil pastel is painting as well as drawing medium with characteristics similar to pastels and wax crayons. These versatile oil crayons consist of pigment mixed with a non-drying oil and wax binder unlike other soft or Japanese pastel sticks, which are made with a gum or methylcellulose binder. The surface of an oil pastel colour painting is, therefore, less powdery, and quite difficult to protect with any fixative. But they pair perfectly with canvas, paper, wood and even glass.
If you are new to using these, start out with subjects that won’t be too complicated such as still life to ease yourself into the use of oil pastels. Here are some techniques which would further help you master this diverse medium:
Try each of these pastel techniques with different pastels—hard, semi-soft, and soft and learn new variations— as each gives a slightly different result.
-
Drawing With the End of a Pastel
The simplest way to use an oil pastel is to draw holding its end as you would a pencil or pen. The resulting line will have a great appearance, and convey a sense of the gesture and effort you made.
You can alter the thickness of the line made by varying the pressure applied to the end of the pastel. The harder you press, the more pastel you will be putting down on the surface. For thinner lines, press the stick gently or use the edge.
Tip: To get this correctly, use your whole arm, not just your wrist.
-
Using the Edge of a Pastel
If you want to work quickly (or very quickly) or want to create large blocks of colour, use the edge of an oil pastel stick. For best results break a stick in half and use that— the best part is even the smallest fragment of oil pastel art is still usable.
Altering the pressure on the pastel will create different degrees of texture on the surface. If the side of the pastel looks worn down, giving it two sharp edges, you can still use it to create fine lines.
Tip: When working with the edge of a pastel, go for semi-soft or soft ones.
-
Hatching and Cross-Hatching
If you have done any pencil sketching or drawing before, you would be familiar with these common shading techniques. Hatching involves creating a set of parallel lines, preferably fine lines in the same direction drawn closely together. Cross-hatching is just the next step, drawing another set of overlapping lines at an angle, often right angle.
Like sketching, both of these techniques work excellently well with pastel pencils or hard pastel sticks. Especially for the initial blocking in of an oil pastel colour painting—providing you with enough room to experiment with colour and tone in a loose, flexible way without fully committing to a final composition.
Tip: Use this method to create a sense of form and shape of the subject by varying the direction of the cross-hatching.
-
Blending Pastels
Unlike other painting mediums, oil pastels are not mixed before putting them on the canvas. So, you have two ways to create colour and tonal variations with pastels—optical blending, which can be done by having colours close (similar to hatching), and blending, where different pastels are mixed on the paper.
You have a wide option of tools available to use for blending pastels, the traditional and the best one is the finger (wearing a surgical glove to protect your hands is your personal choice). You can also the side of your hands for large areas of blending, but don’t go using it for precise details and results. Instead, use paper tools such as the tortillon, torchon, and paper stump, or kneaded rubbers, cloths, and cotton balls or buds.
Tip 1: If you are using your finger (or hand), make sure to clean it regularly using a wet-wipes to avoid contamination of the painting with colours previously blended.
Tip 2: You can reuse the paper stumps and tortillons by unwinding a layer at the end or by removing the end surface with a pencil sharpener.
-
Scumbling Pastels
One of the great advantages of working with oil pastels is the vibrancy and whimsical delight you can achieve. Possibly the best method for getting this correctly is by scumbling—apply a layer of pastel and let it fix, later lightly drag a soft pastel on its side across the top. This will create a broken covering of the new colour over the top of the previous layer.
The result is visually stimulating with excellent texture, a careful selection of colours will produce an amazing effect in your artwork.
Tip: This method of scumbling works best with the softest soft pastels.
-
Feathering with Pastel
Feathering is a finer version of hatching method using short strokes. The result is rather like scumbling and add vibrancy to a painting. This also works for optical mixing of colour (like with pointillist paintings) where the eye mixes the colours rather than blending them completely on the surface.
Tip: Use this method to give the appearance of iridescence of fabric, feathers, or for creating different atmospheric effects with light.
-
Dusting with Pastels
Dusting is done by holding an oil pastel over the colour applied and scraping its surface to create pastel dust. Analyze the placement and amount of dust made, later using a clean palette knife, and press it further on the surface.
Tip 1: It is much easier to do this if the painting is held horizontally as the colour dust will fall exactly on the area where you want it to.
Tip 2: Make sure the palette knife you use is clean.
Final Words
Each of these techniques can be used on their own or combined together in variation, to produce an oil pastel colour painting. There is no right or wrong way to do this, unleash your imagination and let your creativity go wild. As with so many things in art, it comes down to what you enjoy (or love) doing with your oil pastels.
