

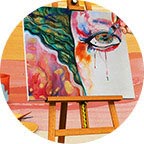


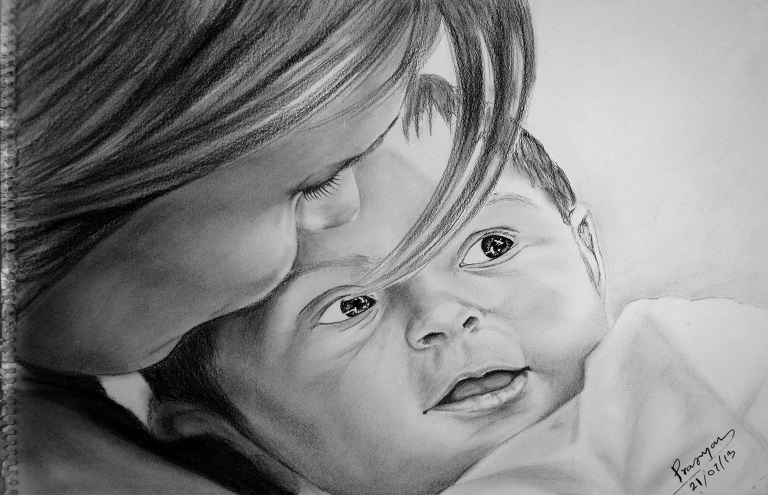
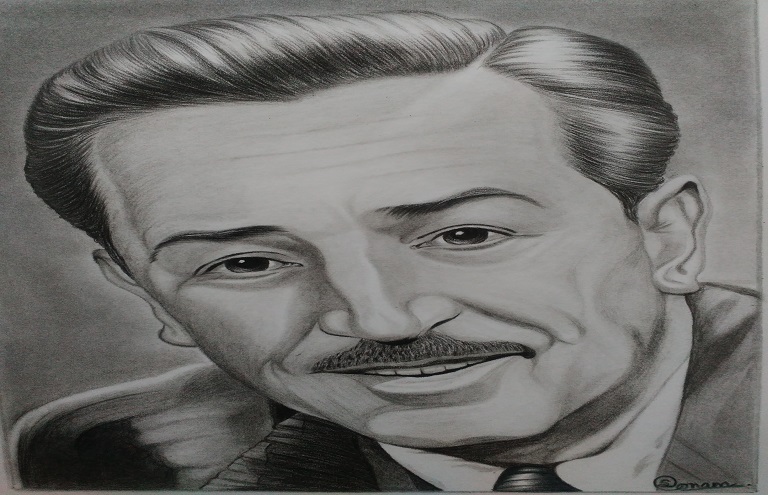
Holding on to charcoal instead of a pencil helps to create magic. Charcoal helps you achieve smooth shading and that tight area hence the dark values that are a must in any portrait. While you initiate the idea of starting your very own charcoal portrait, you should make sure that you start with sketch outlines; especially on graphite- being one of the easiest backgrounds to erase if stuck with a little mistake.
Being the most satisfying art style, charcoal portrait gives the results right away, impressing the audience to its best. Let us brush up our skills with some shading techniques while going forward with your very own charcoal paintings.
What are the Basic Materials required while starting with Charcoal Portrait?
Charcoal portraits are the ones that include the least amount of materials. We can create a masterpiece using just a handful of things such as:
-
Charcoal Pencils
As per the charcoal portrait experts, one must use two different kinds of charcoal pencils. For a good range and variety of values, you can pick a dark grade pencil such as 2B and 4B; and for a lighter grade, you can use H or HB pencils. Some brands name the pencils as soft, medium, and hard. In this case, you can always pick on soft pencils and hard charcoal pencils.
-
Paper or Base
You can not use every and any paper to be sketched with charcoal. Some specific ones are made in such a way that compliments the portrait. The best paper to use for charcoal portraits is Ivory Sheets; the ones that have teeth within. Such a paper also makes it easy for acrylic colors and paints to come out all enhanced.
-
Various Other Tools
Once the sketching and shading are completed, a brush is needed to blend the paint. While the whole process is exciting, blending and playing with colors to get the image to life is the most fun part. This also helps in removing the graininess from your portrait. You must take care that the paintbrush that you use is fluffy for better results and outcomes. If you do not have a brush, you can also get it worked using pieces of Tissue. If you are willing to add on a little texture, you can use a stick eraser. This allows you to create highlights neatly. For more subtle highlights, you can also use a kneaded eraser.
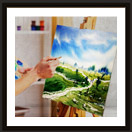
Once you collect your materials, you are all set to learn the shading techniques for your very own charcoal portrait. Read more for it:
Steps By Step Process For Shading
-
Establishment of a Shadow
With the help of the darkest charcoal pencil, create the shadow of your portrait. When we work on the darkest features, we would judge and compare other features and values that are lighter. We also need to ensure that the portrait does not look flat. This usually happens with a lack of contrast. This usually happens due to a lack of dark values. Making sure that the bold and dark tines are touched upon is very important. Some of the most common areas to add dark areas are eyes, eyebrows, nose, mouth, and side of the face.
-
Mid-Tones and Shading
The first lesson to keep in mind here is keeping the lightest part in your portrait charcoal-free. To do this, use the charcoal’s lighter side to mid-tone the values with heading- not on the highlights. Do not press the pencil so hard and shade in variant directions and with more layers. You can take the pencil from a little further back and keep it tilted to the side. This will help with step two very easily.
-
Blend with a Tissue/Brush
Once the dark and light values are added, blending with the tissue or a fluffy paintbrush becomes our very next step. Use the paintbrush in a circular motion- blending out the shades in your portrait. While doing so, you will be able to fill in all the crannies of the paper with the help of charcoal dust- removing the graininess to the most. This step will also help you add a base tone to the is that is still white.
-
Detail addition
After the first two steps, you must be well-versed with the importance of blending. Well, while blending makes everything light, one must work towards getting back the shadow in the areas where darkness is needed. Here, you can make use of two or more pencils to get a layer of darkness enough. Here, also work precisely on the details of the portrait. Sharpen your pencils and start adding details with the HB pencils.
-
Adding highlights
Being one of the most interesting parts of the whole procedure, work hard and well on the highlights. It is one of the most important aspects of the charcoal portrait as it adds a great pop to your art piece. You can also use a stick eraser to brighten up the light areas.
Tips And Tricks For Your First Charcoal Portrait Masterpiece
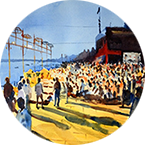
While you look into the tips and tricks for creating your very own masterpiece, you can always buy your very own motivational art pieces in online art galleries. They hold in some amazing work by tremendously talented artists.
Let us come to the easy hacks for your charcoal portrait:
- Look in for the essence in your decided important character. This would not only give depth to your art but also enhance it and let it communicate with the audience.
- Give a little more time to learn about the values. You must know where to go light and where to use the dark essence.
- You can always squint. Giving a varied perspective to your portrait to be viewed is okay.
- Explore and pay attention to the thin and thick lines.
- Try and use an eraser. It will help your portrait to stay neat yet appealing
- Wear gloves to avoid dirtying your hands
- Try and use charcoal pencils for better results
Read More: Charcoal Paintings - A Right Choice for Expressive Art
While you try and follow up the above-mentioned techniques, look into some amazing work done by great artists on Indian Art Ideas. You will not only get charcoal portraits but also other forms of art such as abstract, modern, and mythological arts!
