


Drawing is the most basic way to exercise creativity and for many artists, it is the elemental skill that introduced them to the art world. No matter if you are using a pencil, charcoal, pen, crayon, or even your fingers, the skills you gain from the sketch art will eventually translate to a bevy of different interesting media. Like all art forms, grasping the fundamentals of pencil sketch art is simple and easy to do, but requires a lot of patience and practice to master, sometimes even pushing you out of your comfort zone. But once you do, you will have the ability to create realistic images that may find a place in a well-known sketch art gallery.
Here is a comprehensive guide offering advice on the sketching tools and materials you require, including paper, and different erasers, and pencil sketch art techniques from top artists to help you take your drawing skills to the next level.
-
Use The Right Tools
As the pencil you choose will have a big impact on both the techniques you can use and the look of your sketch art, make sure that you pick the right pencil.
Every pencil type is suited for different styles of artwork, and the hardness of your lead also needs to be taken into consideration. If you are a beginner, get hold of a 2B or 3B pencil to start with general pencil drawings. However, for shading, especially larger areas, you can use a traditional pencil.
The next important tool is the paper for your drawing. The surface texture you're working on will make a big difference to the effects you can create. The rougher the tooth of your paper, the better will the ridges be able to grip the pigment from your pencils. Also, ensure that you always mount your paper on board, it will help you keep things neat, and provides a solid surface to work on.
Another must-have item in your sketching tool kit is a putty (kneaded) eraser. Though there are a number of different types of erasers, each is suited for a different purpose. Invest in a kneaded eraser, it has a putty-like consistency and is best for lightly picking up the coloured pencil binding off the paper. This works wonders when correcting mistakes in your sketch art, or if you are deliberately lifting color from a highly detailed area such as the eyes. You can also get a gum eraser that has more solid consistency and is better if you want to fully erase a colored-in area.
Lastly, get a blending stump. It will help you gently blend the layers of colored graphite and produce a very soft and delicate look.
-
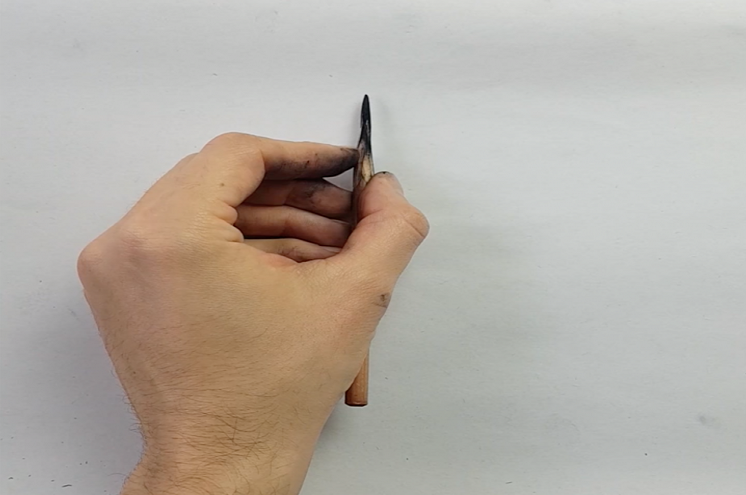
Know The Right Grip
The first step in sketch art is to master how to hold a pencil correctly. Experts recommend holding the pencil-like you would clasp a piece of charcoal, and working with the side of the lead to shade or draw, rather than using the point. When covering large areas, shade holding the pencil perpendicular to the line you are drawing to get wide, softer lines. For details in the sketch art, hold your pencil parallel to the lines to get sharp, narrow marks. While for the intricate details, work using the point.
-
Consider The Lines
The kind of marks you are making will eventually shape the feel and appearance of your pencil sketch art. Hence when you are starting out, control the line style and try to avoid uncertain, feathery marks in the drawing. Things like how quickly you draw a line and the pressure you put into a stroke will determine the look of the line. For example, a heavy line is usually dark and definite while a lightly drawn one is pale and exploratory.
-
Start With Underdrawing
Many artists prefer to start their pencil sketch art by laying out the foundation of the subject scene with a rough, light underdrawing that helps to view the final work without the intimidating commitment of getting everything perfect. Laying the pencil underdrawing beforehand can be especially useful if you are working on a precise line drawing.
For laying an underdrawing, make sure you use a hard lead (around 2H) pencil as it helps ensure that the lines drawn are light and easy to rub off. Alternatively, some artists also suggest using a digital underdrawing as a guideline, printed at 1 percent opacity. Either way, make sure underdrawing acts only as a foundation for your pencil sketch art rather than a strict guide and let your intuition take over in the creation process.
-
Move Left-to-Right
As pencils are prone to smudging, the softer ones you use, the more difficult it would become to keep things clean. However, proper planning about which area of the composition you work on first can be a really helpful thing. Essentially you don't want to be resting your hand on areas you've already worked on and end up smudging your sketch art, which means that unless you have an unusual pencil grip, you would always want to be working top to bottom. So, it is advisable for the right-handers to always work left to right, and lefties to move right to left.
-
Begin With Lighter Lines
While starting to draw, plan and explore using lighter loose lines, and avoid committing even slightly too early with hard, strong dark lines. As you progress the lines will change, so check and later darken the lines and add details at the end.
-
Attempt Blind Contour Drawing
Considered a fundamental tool that can help budding artists create their first pencil sketch art, blind contour drawing improves the power of observation. All you need is to choose and subject and set it up in front of you and fix your eye on it, carefully observing the outline, edges, and shapes of the subject. Next, place your pencil on the paper and slowly draw its contours in a continuous line without looking down at the paper. Make sure that you draw in a single, unbroken line and don’t look back at the sketch art until you are finished. The end result will look out of proportion, odd and incorrect, but don’t fret! The aim of this exercise is to help you draw confidently and unselfconsciously.
Repeat the exercise regularly as a warm-up to get your hand working together with your eye. Don’t aim for an accurate proportion, instead attempt for an honest process of observation and mark-making, without overthinking the drawing, it will help you overcome the fear of staring at a blank page.
-
Use Line With Varied Thickness
Using lines of varied thickness can not only add depth to your sketch art but also help guide your viewer through your drawing. Thicker lines help to indicate the importance and guide the viewer that something vital is in the foreground of the scene. They can also be used to distinguish between two distinct and overlapping objects in the drawing, for example, a thicker line on the outside edge of an object can help differentiate the outer lines of the subject matter from the lines that represent the details lying within.
Once you get hold of this technique, you can also use different line weights in combination to make a form appear more three-dimensional.
-
Learn to Control Your Lines
While working on a detailed area of your sketch art, be wary of every line you draw. Be aware of the look of the lines and also the pressure you are applying to the pencil as well as on the paper, and ensure that all the lines are steady throughout. Many expert pencil artists suggest that to create cleaner and tighter line work, it is always better to regularly step back and check the overall effect of the work. Remain consistent and do not rush it!
-
Muddle Different Shading Techniques
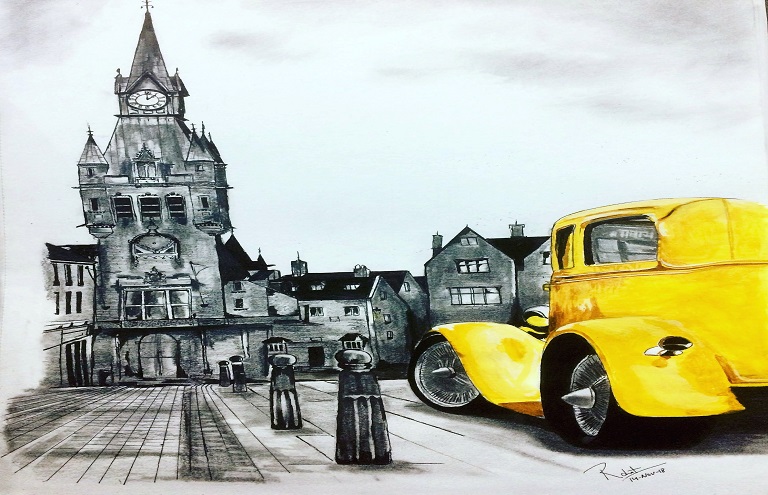
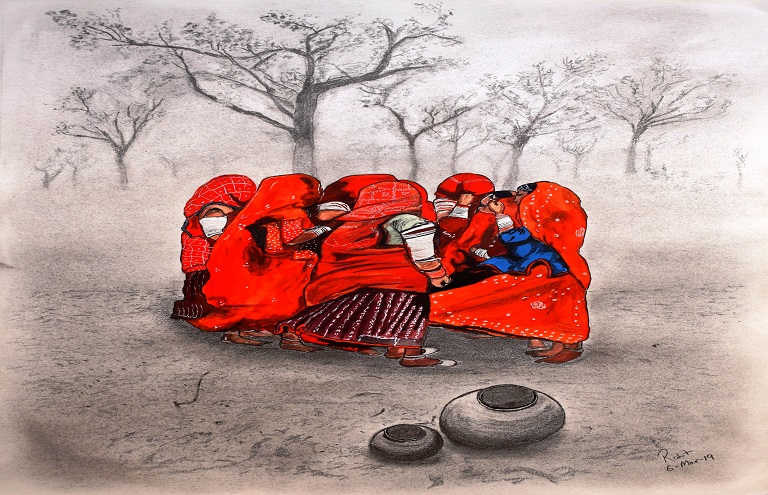
There are many different techniques for shading in pencil drawing. Expert pencil artists whose stunning drawings you may find in a leading sketch art gallery, primarily use two main approaches. The first method relates to all the lines of the sketch going in a similar direction. It makes the shading appear more cohesive and helps in popping out the details from the lines. The second technique involves working in patches of lines that go around the form. Apart from helping define the shape and keeping things in perspective, this technique works excellently well for backgrounds and creating texture in sketch art.
-
Master The Art of Blending
While blending, always start with an outline and then build up colour using soft gentle subtle layers. This will help you check if the form is correct before committing to coloured pencil as it's too difficult to erase colored-in areas. At the same time, this process will let you plan the placement of the highlights, color palette, and shadows in the sketch art. After laying each layer blend gently using the blending stump. Once you reach a stage you are happy with, move on to the final step, adding an outline. For this final layer, use coloured pencils alone, and do not blend with a stump.
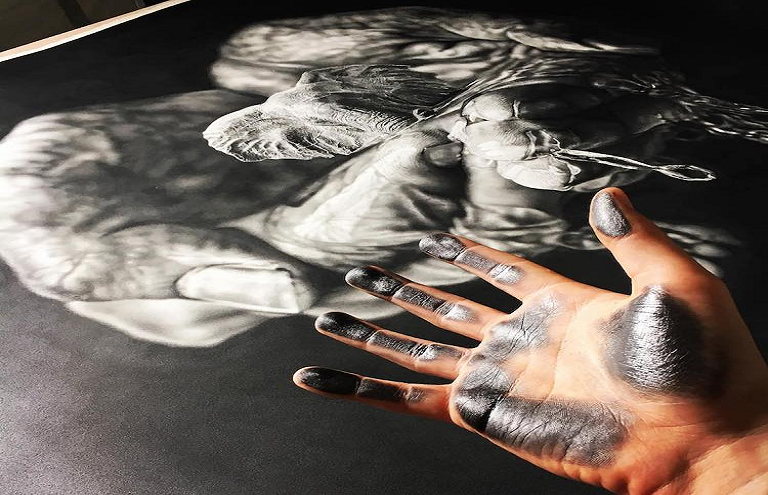
You can also use your finger, or chamois cloth for blending the graphite and create interesting effects in your work.
-
Learn To Clean Up After Yourself
In sketch art, your eraser can be just as important as the pencil itself. There are a few different types of erasers available with each having its own specific use. But, whichever you choose, always make sure it's placed close to hand whenever you are sketching. Whenever a line gets too thick or a form looks inappropriate, clean up your work as you go along. In the end just do a final sweep to make sure you don’t miss an area before calling it done.
-
Check and Recheck Again
Before you move on to adding stronger, harder lines and more detailed work, it’s important to make sure you have put the correct form of the subject down. Avoid guessing at the details and check if the things are symmetrical and look right, then check again. Some artists prefer looking at the work in a mirror or through a camera to highlight if anything is off.
If confused, listen to your gut, it will help you troubleshoot the drawing before continuing.
-
Know When to Stop
The majority of artists, especially beginners have a tendency to tinker with their pencil sketch art – even after they have signed their names. They always find something to change or work upon and hence, it is extremely difficult for them to tell when a piece is truly finished.
Be wary of overworking your drawing. Step back from your work and give it a thorough glance, and if you have the slightest feeling that it might be finished, you probably are, simply put your pencils down. Take a deep breath and make a conscious decision to simply put your pencil sketch art away.
