


Are you an artist eager to try oils?
Oil paints can be an amazing medium to work with, offering enough room for experimentation and discovery. It provides you with the flexibility of subtle gradation and blending letting you come up with incredible artwork.
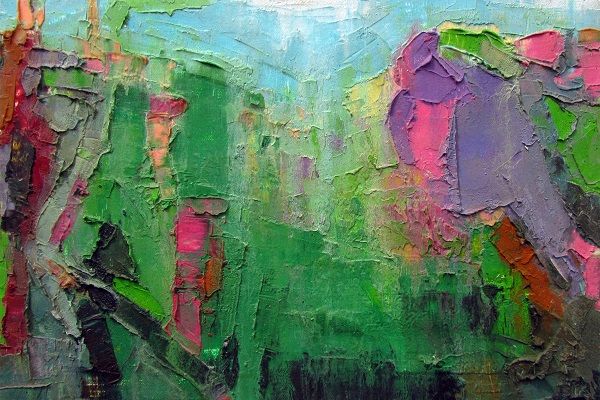
Transform your Art using these Essential Oil Painting Techniques
However, there are some tips and tricks that you need to be aware of before you start painting with oils:
1. Paint in A Ventilated Space
Before you start, it is extremely important to consider the place where you will paint. The traditional solvent used for oil paintings, that is turpentine releases toxic fumes that can cause dizziness, fainting. It can also be absorbed through bare skin. Hence, it is essential to use solvents in a well-ventilated space.
Also, remember that solvents are flammable, so make sure that you have access to a safe means of disposal.
2. Oil Painting Canvas
There are two options available while looking for canvas for oil painting. One is a stretched canvas panel, which is a canvas stretched over a frame and is quite popular for oil painting. The other is a canvas board wherein a canvas is attached to a sturdy surface like cardboard.
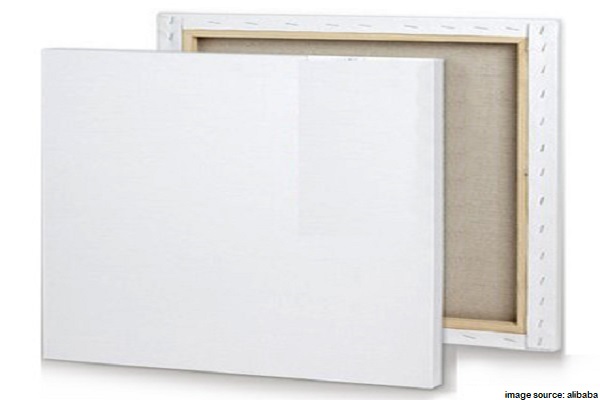
You can even go for painting on surfaces such as masonite or birch wooden boards, but make sure it is with gesso primed or layered with rabbit-skin glue. Also, now ready-made canvas is available in the market which is a pre-sized and pre-primed canvas. It seems like a good option for beginners, just buy and start painting.
3. Holding The Paintbrush
Owing to the viscosity of the oil, paintbrushes with longer and smaller bellies are used while painting.
There are different ways to hold your paintbrush. Each will give your artwork an entirely different effect. For finer details, grip it close to the bristles while holding the brush halfway down the length will give you a lot of control.
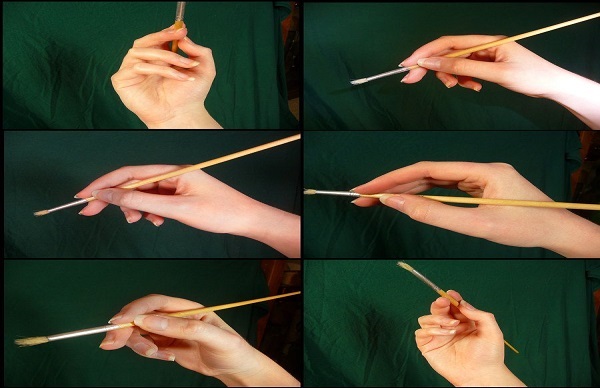
Try holding the brush at the end of the ferrule for bold and sweeping strokes. You can also create a variety of stroke widths by varying the pressure on the brush. This style may seem uncomfortable at first but it gives you incredible results.
4. Add Medium For More Effect
Medium modifies the properties of oil paints by increasing its fluidity and consistency. Also, it makes the paint more transparent and shortens/extends the drying time making the color behave differently.
The most common medium used in oil paintings is linseed oil. However, you can create your own balanced medium by mixing a solvent with an oil medium. If you master the perfect combination, you can surely achieve a variety of sheens in your work and gradually come up with your own oil painting ideas.
5. Mix Oil Painting Colors
Don’t forget to try color variegation with your oil paints. Add several variations of subtle colors, to make your paintings more alive. For oil paintings, try mixing the colors on your palette until you neutralize the saturation and that is when the magic begins. Double load your paintbrush and you would be able to see the color variations in each stroke.
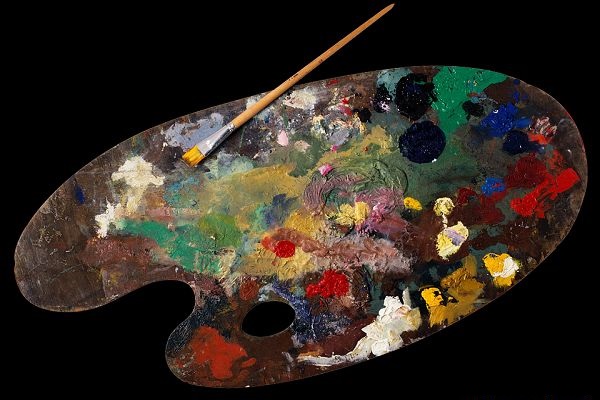
6. Limit Your Palette
The most important tip while starting out to paint is to limit your palette. Don’t buy every color you like, choose the tubes carefully and start with just a few. You can begin by buying the basic paints - red, blue, yellow and white.
Experiment with various color schemes and harmonies and learn to make your own colors.
In case, you are not familiar with the color theory, try making a chart to see how your colors mix and record all the possible color combinations you have tried.
7. Remember The Rules
Make sure to follow some essential oil painting rules to avoid your paint cracking and drying unevenly.
The first is ‘Fat over lean’ wherein you need to finish painting with fat washes of paint (medium added to the oil). In other words, make sure the top layers of oil paint are thicker than the lower layers. Else, the paint will crack as the layers on top dry faster than the layers below.
The second important rule is ‘Thick over thin’. While applying paint in different thicknesses, it is important that the first layer is thin, and thicker layers of paint are saved for the last. You can start painting with thin paint mixed with a solvent and then go on adding thicker layers.
8. Use Dry Brush To Create Texture
You can go ahead with wet-on-wet painting in oil, applying paint on top of another layer of wet paint, oils will blend slightly and create a natural gradient in the tones.
Try using a dry brush for a characteristic scratchy look. Graze the paintbrush and holding it horizontally make controlled strokes. This technique works best across a textured surface resulting in the effect of a diffuse and broken color.
9. Don’t Forget To Paint With The Palette knife
Please remember that palette knives are not only useful for mixing your paints. You can use it to make larger, more confident and crisp strokes, particularly in an impasto style, or for scraping paint off your canvas. Use the edge of the palette knife to dab sharp lines on the canvas to create contrast and textures of strokes which are very different from that of any paintbrush.
10. Use Fingers To Blend
Don’t forget to try blending! It is a common but the most interesting oil painting tip used to create a more realistic finish with a refined and smooth organic gradient.
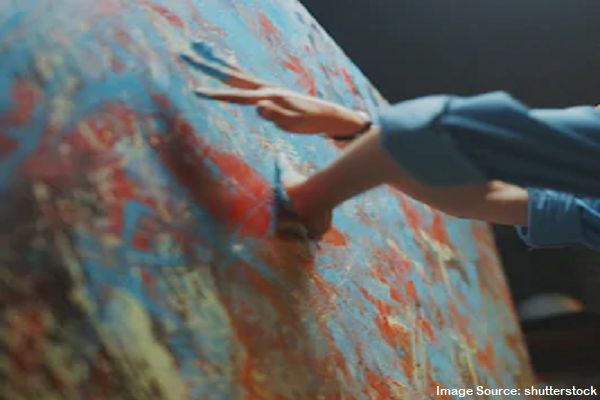
Though blending can be easily done with just a brush, you can try doing it with your fingers. It will help you adjust just the right amount of pressure to smudge lines for the perfect gradation.
Bonus Tip: How to Choose Oil Painting Colors?
Spend some time to understand how to choose between the different oil painting colors available on the market. Choose colors based on their properties and pigments. Most importantly, start with a simple effective mix of oil color palette.
